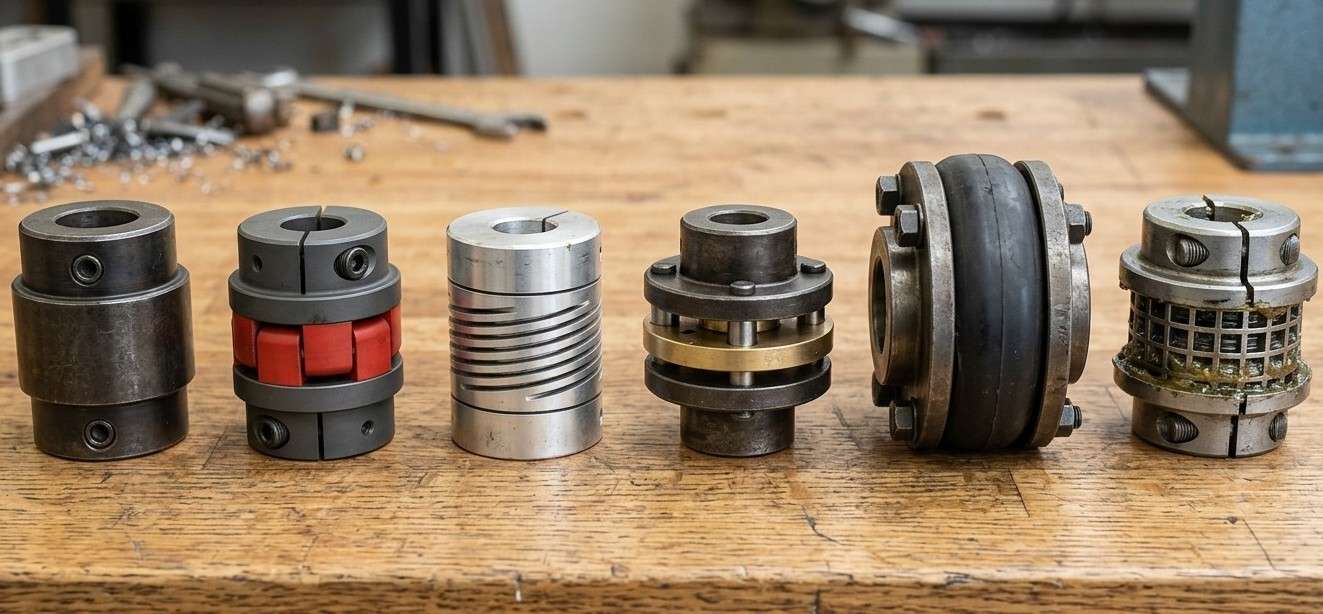
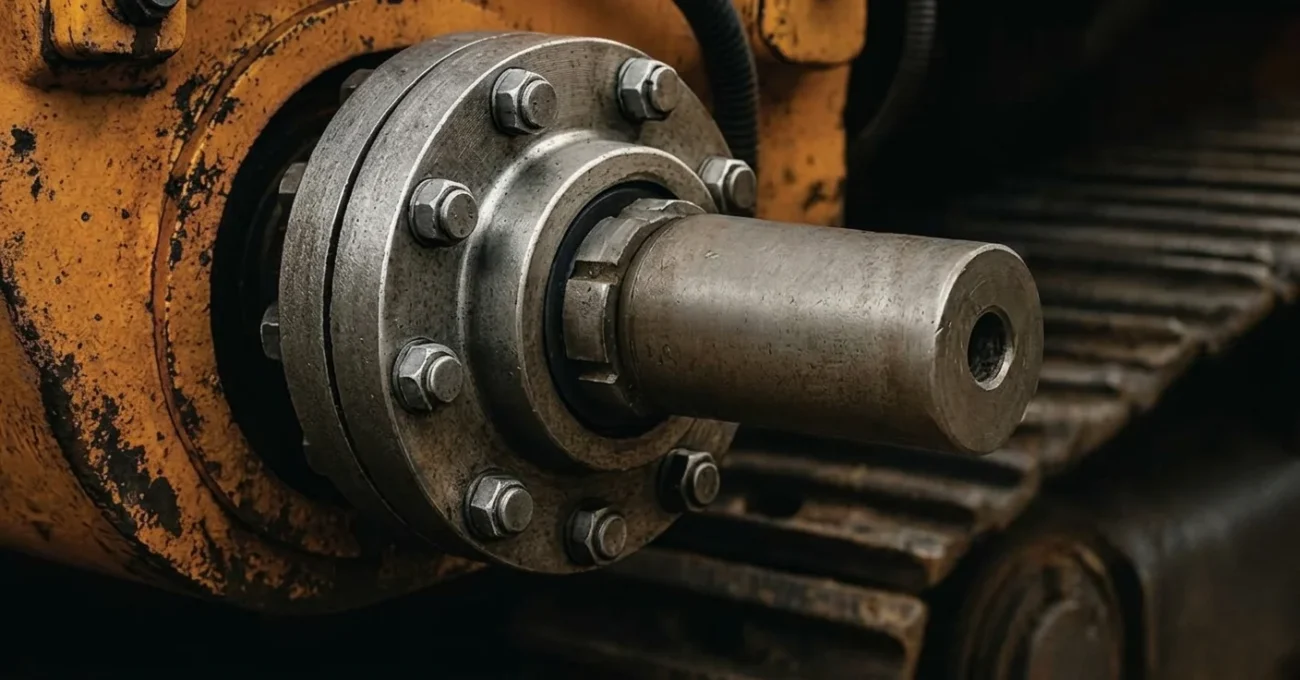
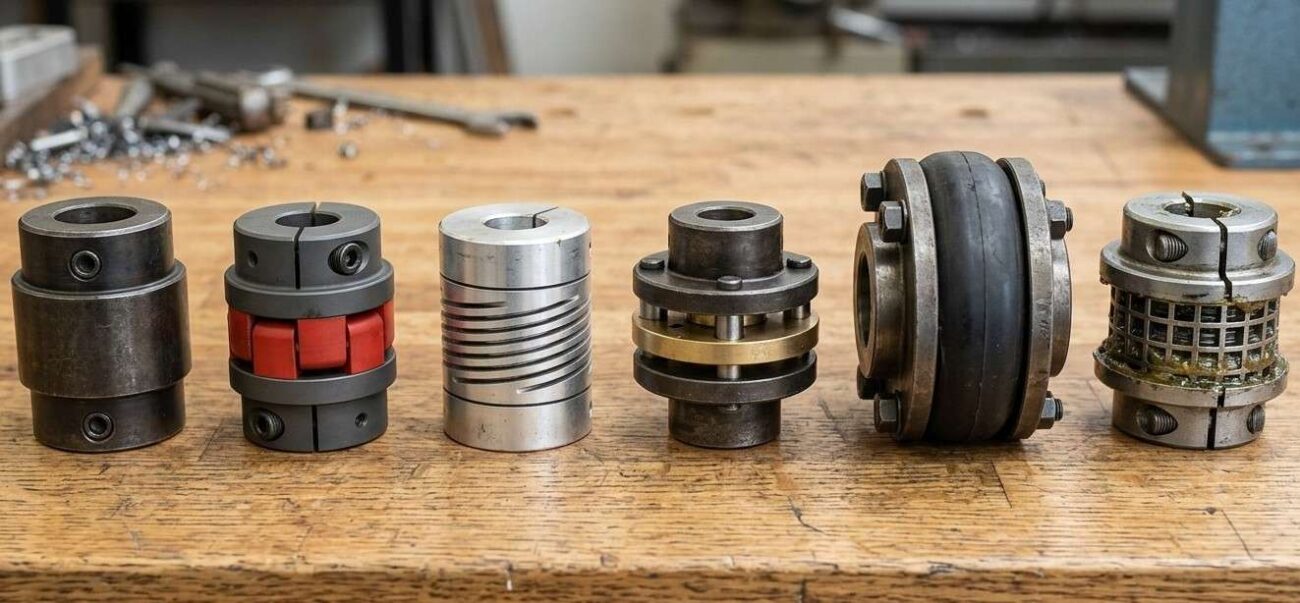
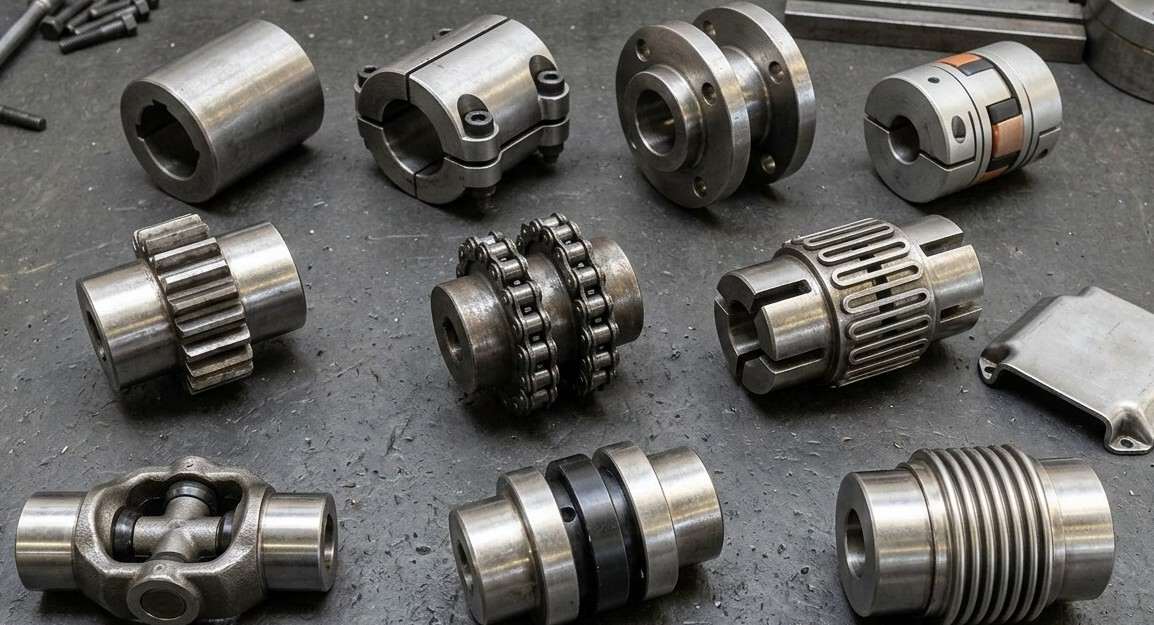
Proper coupling installation requires cleaning the shafts, aligning the equipment, and tightening fasteners to the manufacturer’s specified torque values. Position the components at the correct gap, then verify the result before service. Exact values vary by coupling, so the manufacturer’s data sheet always governs.
A coupling joins two components so they work as one system. Most coupling failures trace back to installation, not the part itself. This guide covers the principles that apply to nearly every coupling.
What Is Coupling Installation and Why Does It Matter?
Coupling installation is the process of fitting a coupling between two components, positioning it correctly, and securing it to specification. It matters because poor fit, misalignment, or uneven tightening causes leaks, vibration, premature wear, and unplanned downtime.
A coupling performs to its rating only when installation matches its design assumptions: clean surfaces, correct spacing, even load, and proper torque. Each of these can be checked, so each can be controlled with a repeatable procedure.
What Should You Check Before Installing a Coupling?
Before installing a coupling, confirm it matches the application in size, material, load, temperature, and chemical exposure. Then inspect both mating components for damage, burrs, and contamination. Do not start until the coupling, the components, and the data sheet all agree.
Verify the coupling rating against operating load, pressure, or temperature.
Check that dimensions match on both components.
Inspect for cracks, dents, corrosion, and out-of-round ends.
Isolate and lock out energy sources where machinery is involved, following OSHA 29 CFR 1910.147.
Gather the correct tools, including a calibrated torque wrench.
Skipping this stage is the most common reason a new coupling fails early.
How Do You Install a Coupling Step by Step?
Clean the mating surfaces, fit the coupling onto the first component, bring the second component into position at the specified gap, and check alignment. Tighten fasteners in stages using an alternating pattern, then apply the final torque from the data sheet.
Use the Prepare, Position, Tighten, Prove checklist:
Prepare: Clean surfaces, remove burrs, and slide any clamps or hubs onto the components first.
Position: Set the specified gap and confirm both components are aligned and supported.
Tighten: Work in stages, alternating between fasteners, then apply final torque.
Prove: Recheck position after tightening, then test.
Never force parts together with hammers or excess leverage. If a fit needs force, something is wrong with size, alignment, or surface condition.
How Do You Install a Shaft Coupling?
For a shaft coupling, work through the sequence below. It expands the checklist into the exact order of operations, and the hub steps are where most alignment errors begin.
Clean the Shaft Ends. Remove rust, oil, and burrs from the shafts and keyways so the hubs seat fully.
Mount the previously machined hubs on the shafts. Confirm bore and keyway fit first. Heat or press interference-fit hubs evenly, as the manufacturer specifies.
Position the coupling hubs onto the shafts. Set each hub at the specified shaft-end distance and leave the correct gap between hub faces.
Fully tighten screws on one hub. Lock the first hub in place, then leave the second free so you can adjust it during alignment.
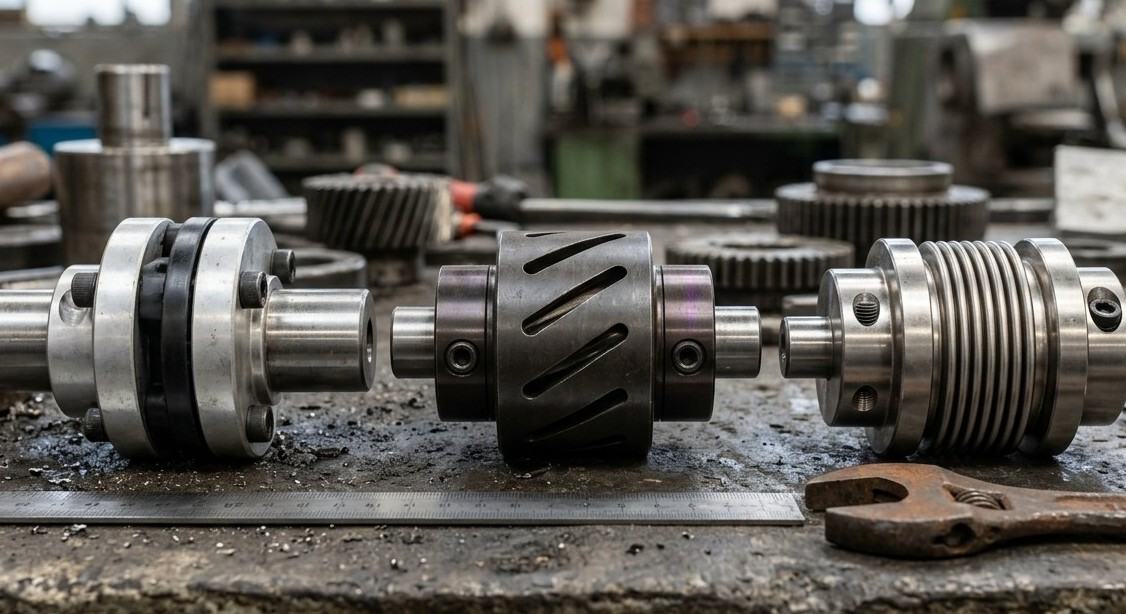
Align the flanges and element on the shafts. Bring the second machine into line, fit the flexible element between the flanges, and check angular and parallel offset.
Torque and confirm. Fully tighten the second hub, apply the specified torque in a cross pattern, and recheck alignment.
How Do You Verify a Coupling After Installation?
Verify a coupling with a four-point gate before service: position, torque record, support, and functional test. Every item must pass and be documented. A written record speeds future inspections and gives you a baseline when problems appear.
Check
Pass criterion
Position
Correct gap and alignment after final tightening
Torque record
Every fastener at rated value, marked or logged
Support
No sag, strain, or point load at the coupling
Functional test
Passes the leak, pressure, or rotation test that applies
Follow the test method in the governing standard or manufacturer documentation for your application.
What Are the Most Common Coupling Installation Mistakes?
The most common coupling installation mistakes are skipping surface cleaning, tightening unevenly, ignoring alignment, choosing the wrong coupling for the conditions, and leaving components unsupported. Each creates hidden stress that usually appears as a leak, noise, or wear weeks or months later.
Two edge cases deserve extra care. Temperature swings change material size and stiffness, so check the manufacturer’s guidance for hot or cold installs. Chemical exposure can degrade the wrong material, so verify compatibility before fitting.
Also avoid reusing worn or damaged parts such as seals, sleeves, or flexible elements. Replacing a low-cost part during installation is cheaper than repeating the job.
Final Thoughts
Reliable coupling installation comes down to four controlled stages: clean surfaces, correct positioning, torque applied in stages, and a documented test. Each stage has a measurable check.
Most early failures trace back to one skipped step rather than a defective part. Matching the coupling to the load, temperature, and chemical exposure before work begins removes a common source of problems, as Al Omran Rubber Trading recommends.
After installation, recheck fasteners within the first few days of operation, then inspect at scheduled intervals. Log each result as a maintenance baseline for future comparison.
Get the right coupling for your project
Not sure which coupling your job needs? Share your size, material, and operating conditions with our team, and we will recommend the right coupling and send you a clear quote.
1- Do all couplings use the same installation steps?
The core steps are the same: prepare, position, tighten, and test. Details such as gap, alignment tolerance, and torque differ by coupling type, so always follow the manufacturer’s data sheet.
2- Why is torque so important when installing a coupling?
Torque sets the clamping force that holds the joint together. Too little allows leaks or slipping, and too much can crack, cut, or distort the coupling. Use a calibrated tool and tighten in stages.
3- When should you inspect a coupling after installation?
Recheck the coupling after the first few days of operation, since fasteners can settle. After that, inspect at scheduled intervals or whenever you notice leaks, noise, or vibration.